
My holiday ornaments was something I started a few years ago and gave to my family and friends instead of Christmas cards. My list has grown over the years but I have found that the magic number is 36. I like that number because I have enough for my family and friends and a few left over. Last year, someone had said I should do the twelve days of Christmas. So, I have started the twelve days of Christmas with this being the first year. I also thought it would be fun to document my work in this fun little blog. So here is my process for the Partridge in a Pear Tree.

First thing I needed to find my inspiration. I search the internet for a simple pattern that I could use. One not too complicated and that would still work cutting it out of glass. I colored it to get an idea of what colors I wanted.

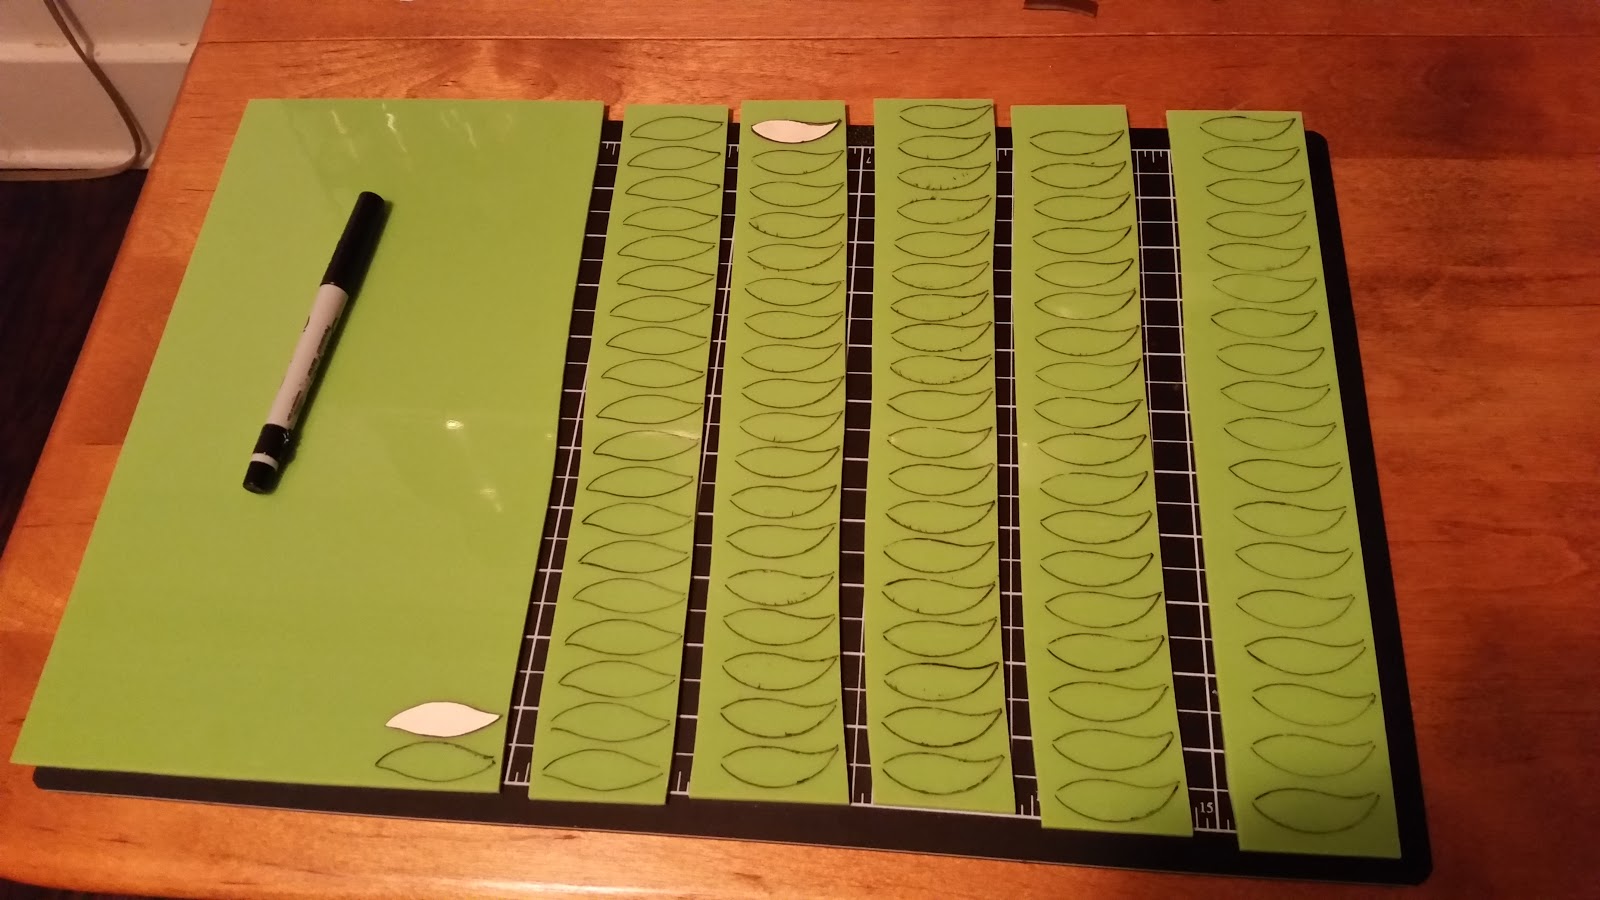
Next came the cutting of ALL the leaves. Each branch has 5 leaves on it so there was a lot of cutting. I also did 4 different style of leaves to give a variation of the branch.


Now came the fun part of gluing the branches and leaves together! It didn't take as long as I thought. Then I had to let them dry so I could move them into the kiln.

 It was the perfect schedule! I loved how everything came out. There were a few sharp points but I new that was fade when I fired everything together.


 Next, I started cutting out all the pieces in the Peacock Blue/Green. I love this color! The pieces were the head, body, tail feather and head feather. It was a lot of pieces and like everything else took a lot of time to cut.


 After all the peacock glass was cut, next came the last few pieces. At this point I was still undecided if I wanted to use the bright yellow or what is call persimmon or a combination of both. I decided it looked best with just the persimmon. So I cut the under belly and tail feather out. Cutting the beak was not fun as they were soooooo tiny!
Now that all the pieces for the Partridge were cut out, I could start gluing them together. I found that it worked best to lay the under belly, head feather and beak down and glue on the head first.


Then I would glue the tail feathers together. For the glue, I used Elemers School glue. The white glue works but if you use too much or do not fire to a high temperature, the glue can leave a residue. I switched to the blue gel and found this works great! I still didn't use a lot as adding any kind of chemical can cause problems periodically.
Next, I needed a hook. So I took the 24 gauge hi-temp wire and twisted a loop and glued it to the under belly of the partridge. I then layed on the wing so that the wire was sandwiched between to pieces of glass. Then I glued on the tail feathers. Just a little bit of glass needed to be overlapped so they wouldn't pull apart.

Now that all the sections have been fired, it was time to put it all together. That was the easy part. The hard part was trying to fit 36 ornaments on the two shelves. It was a tight squeeze, but I did it! I used the same schedule as I did for the branches and the partridge.
 And I couldn't have been happier. The sharp edges of some of the leaves, round a little better and the partridge only sunk a little between the branches. Everything looked great! And I was ready for the final step - painting the eye!

It was the easiest thing! I use Pebeo paint for glass & ceramics. This is perfect for me because I don't have a kiln at my house and all it needs is your oven. You just have to bake it at 350 degrees for 30 minutes and it's done. As recommended by my family, I also dated the ornament. I also signed them this year. My mom always signs her paintings so I thought this would be a nice touch.

So that was my process for my 2014 ornament, the Partridge in the Pear Tree. Now, I say this every year that I am going to start my ornaments in the summer but it never happens. I already know my idea (two turtle doves!) but as always, I won't start it until about 3 weeks before Christmas.
Here is my firing schedule I used. Please note that I always say this, use it as a guide. No 2 kilns fire a like and my schedule could be too hot or too cold for your kiln. Always, fire a test piece first!

Now came the fun part of gluing the branches and leaves together! It didn't take as long as I thought. Then I had to let them dry so I could move them into the kiln.
My firing schedule was one I came up with. I knew since I wanted to fire sections first and then fire everything together that I needed to do something closer to a tack fuse so that everything wouldn't be over fired in the end.
The next thing I needed to cut out was the pears. Since all the other colors in my ornament are opal, I thought a cathedral pear wouldn't look right. And the yellow was just too bright! So I combined the two. This of course meant that I was going to have to cut out twice as many pears and then full fuse the colors together.
My only thought after everything was put together was that I should have ground down the tops of the pears to thin them out a little more and give them a better pear shape.
After all the peacock glass was cut, next came the last few pieces. At this point I was still undecided if I wanted to use the bright yellow or what is call persimmon or a combination of both. I decided it looked best with just the persimmon. So I cut the under belly and tail feather out. Cutting the beak was not fun as they were soooooo tiny! Now that all the pieces for the Partridge were cut out, I could start gluing them together. I found that it worked best to lay the under belly, head feather and beak down and glue on the head first.
Then I would glue the tail feathers together. For the glue, I used Elemers School glue. The white glue works but if you use too much or do not fire to a high temperature, the glue can leave a residue. I switched to the blue gel and found this works great! I still didn't use a lot as adding any kind of chemical can cause problems periodically.


Once everything was glued, I moved the shelves into the kiln and fired. I used the same schedule as I did for the branches.
And again, it was perfect! I loved how the partridges came out. I was worried that one of the tails would move but not one did.It was the easiest thing! I use Pebeo paint for glass & ceramics. This is perfect for me because I don't have a kiln at my house and all it needs is your oven. You just have to bake it at 350 degrees for 30 minutes and it's done. As recommended by my family, I also dated the ornament. I also signed them this year. My mom always signs her paintings so I thought this would be a nice touch.
So that was my process for my 2014 ornament, the Partridge in the Pear Tree. Now, I say this every year that I am going to start my ornaments in the summer but it never happens. I already know my idea (two turtle doves!) but as always, I won't start it until about 3 weeks before Christmas.
Here is my firing schedule I used. Please note that I always say this, use it as a guide. No 2 kilns fire a like and my schedule could be too hot or too cold for your kiln. Always, fire a test piece first!